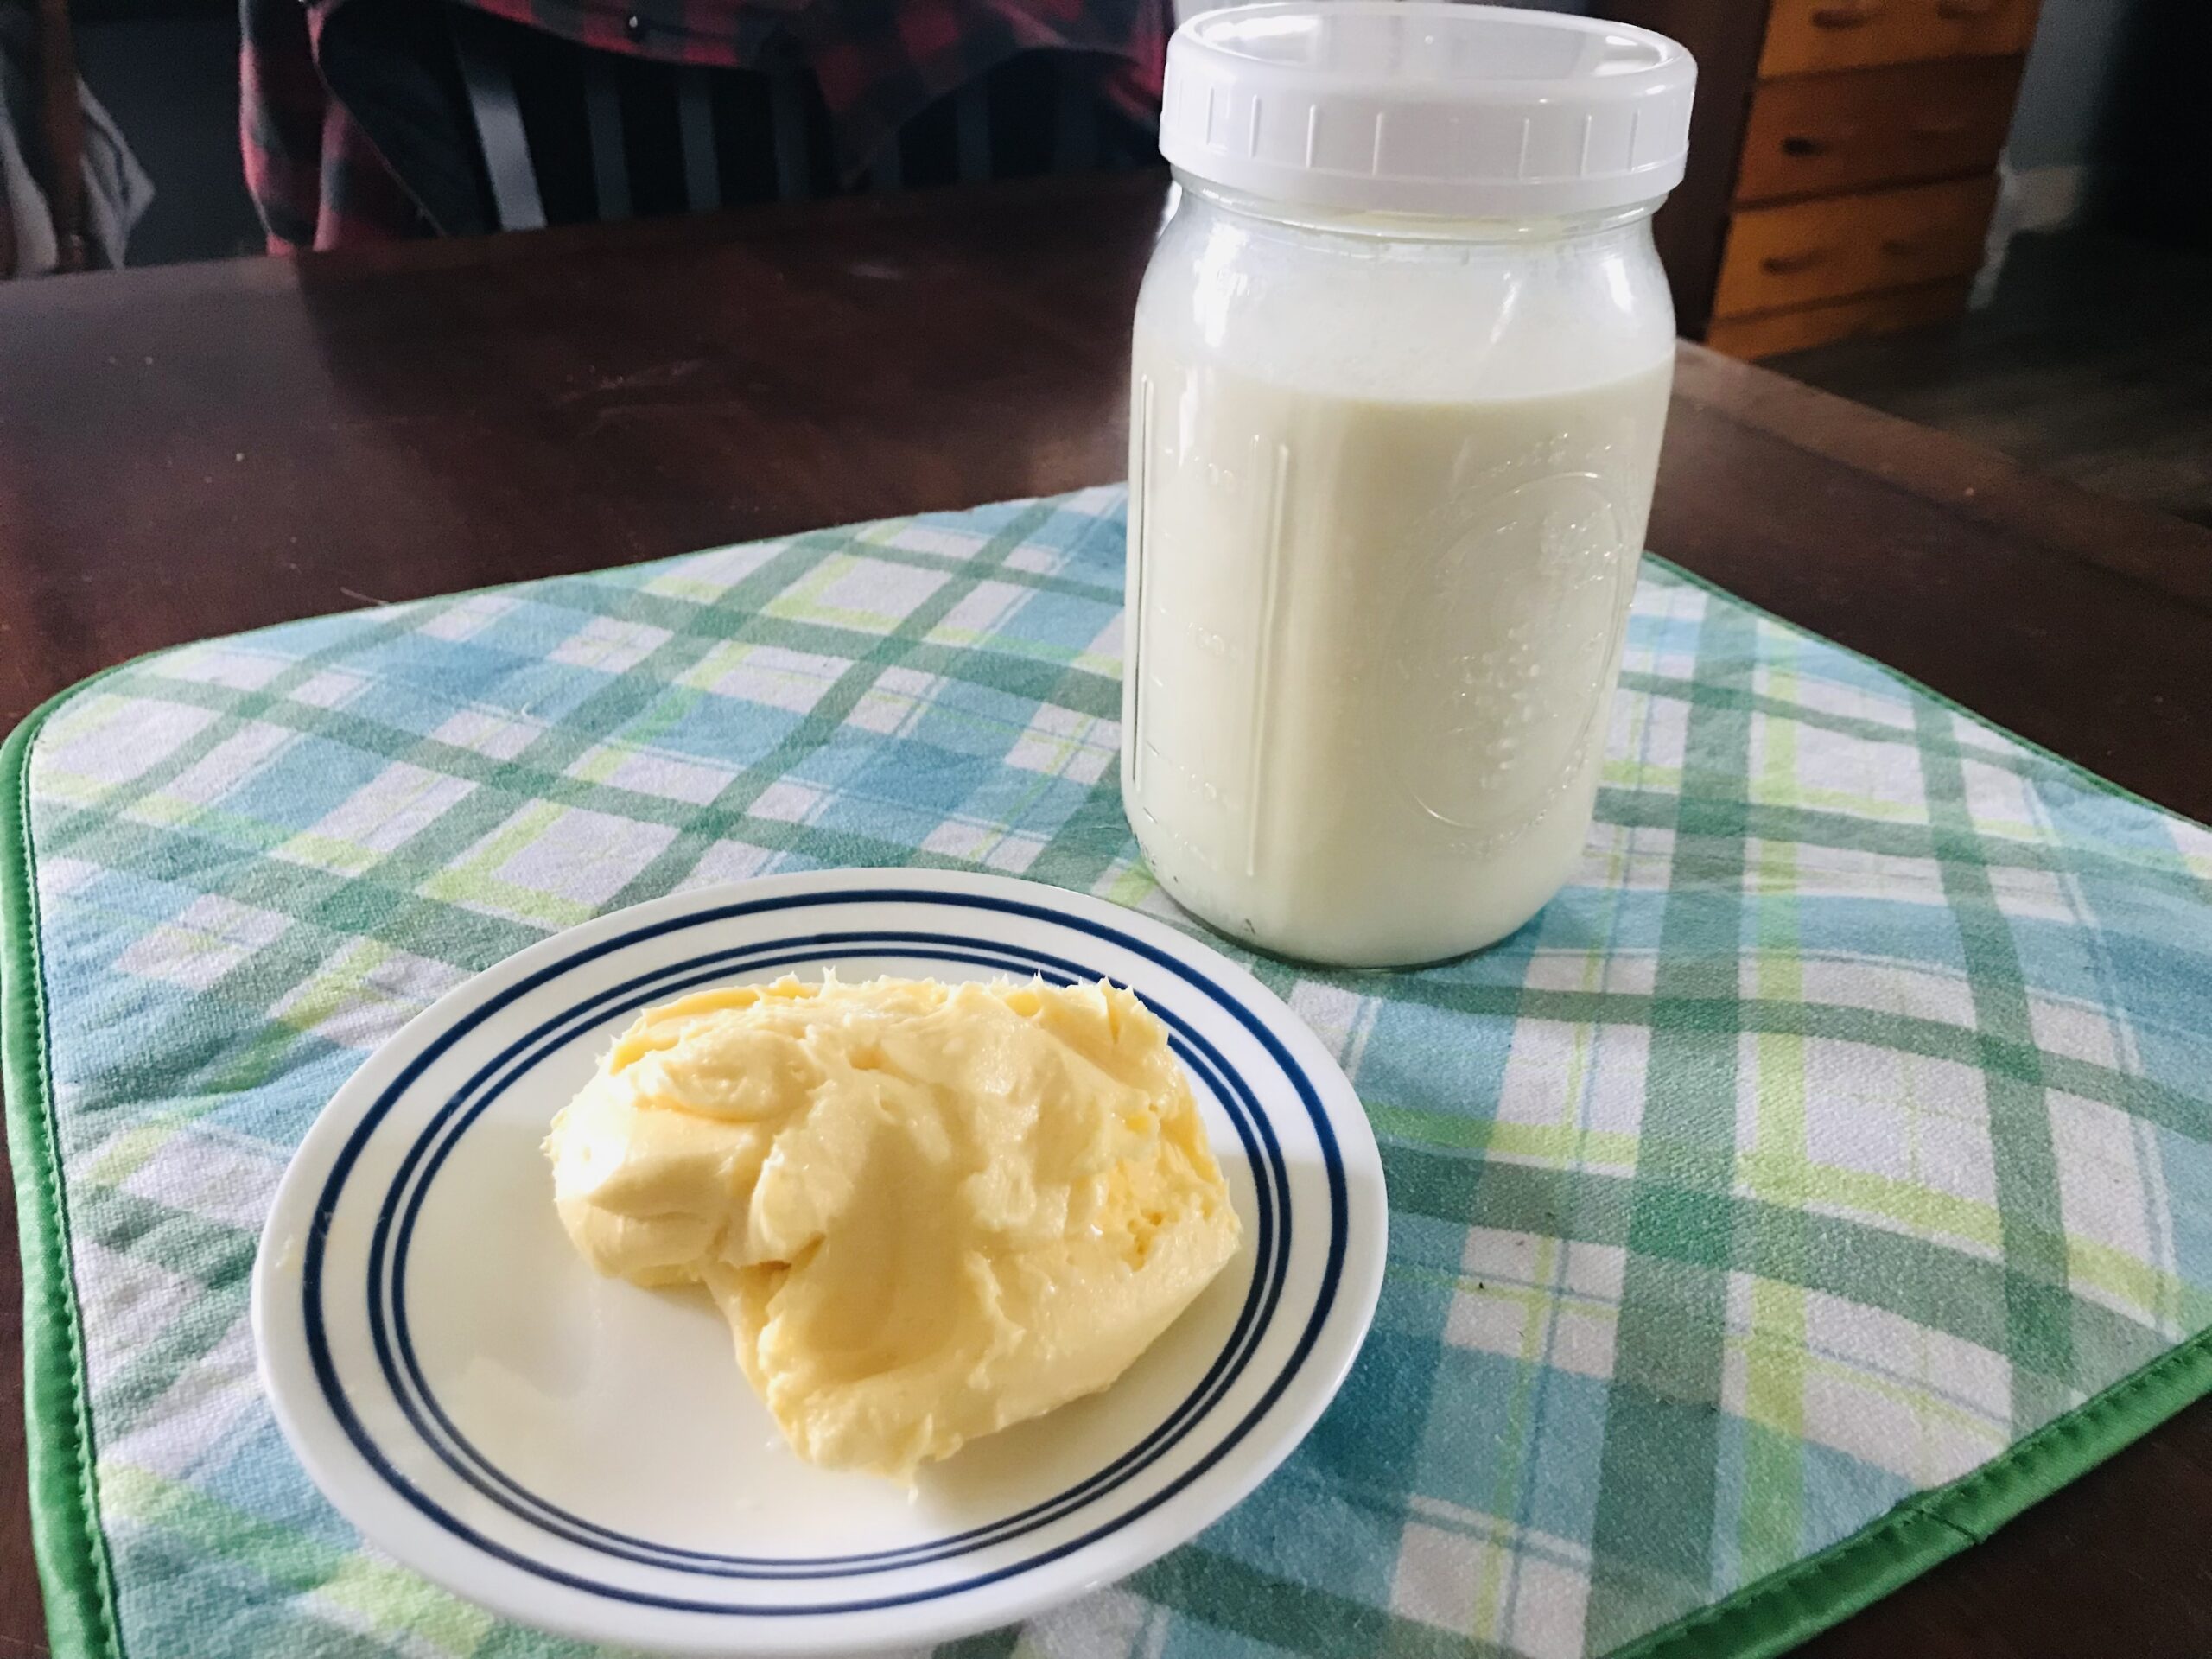
Our family LOVES butter! I cherish the tradition of making butter from our own raw, fresh cow milk for so many reasons. Firstly, it tastes so good! There is nothing like spreading butter you churned yourself on a fresh slice of warm bread.
Crafting our own butter allows me to slow down and connect with the source of this staple ingredient in so many recipes. The hands-on approach, whether shaking it in a mason jar, using a Kitchen Aid Mixer, a blender, or electric butter churn, not only imparts a sense of accomplishment but also reinforces the value of self-sufficiency.
Beyond the delicious end product, the act of making butter becomes a shared family activity, creating lasting memories and a profound appreciation for the simplicity and purity of homemade butter. Here are several different methods we have used.

Option 1: Mason Jar Method
The first time I made butter was in 5th grade at a historical reenactment event in a quart mason jar. Our group took turns passing the jar around a shaking it until a golden ball of butter appeared. It tasted so good on a salty cracker. Believe it or not, this is how I made all of our butter the first year we had our own milk cow. I would gently shake the jar back and forth while watching a show in the evening. You don’t have to shake it vigorously, though that might help it break faster.
Instructions:
- Pour the fresh raw cream into a clean and dry mason jar, filling it about halfway.
- Screw the lid tightly onto the jar.
- Shake the jar for about 10-15 minutes. You’ll notice the cream transforming through various stages, from whipped cream to a thicker consistency.
- Keep shaking until you feel a solid mass inside the jar. This is the butter!
- Open the jar, and you’ll see butter separated from buttermilk. Strain the buttermilk and save it for other recipes.
- Rinse the butter under cold water to remove any remaining buttermilk.
- Shape the butter into a block or roll, and your homemade butter is ready!
Option 2: Kitchen Aid Mixer Method
This method can be messy – so beware! If you are not present to turn off the mixer when the cream separates you will have buttermilk and chunks of butter all over your kitchen. Don’t ask me how I know . . .
Instructions:
- Pour the fresh raw cream into the bowl of a Kitchen Aid Mixer.
- Using the whisk attachment, start the mixer on low speed and gradually increase to medium-high as the cream thickens.
- Continue mixing until you see the cream turn into butter, and liquid separates (buttermilk). Turn off machine quickly to avoid a mess. I have found that a dish towel draped around it can help keep the splashing down.
- Strain the buttermilk and save it for other recipes.
- Rinse the butter under cold water to remove any remaining buttermilk.
- Shape the butter into a block or roll, and your homemade butter is ready!
Option 3: Blender Method
I have several friends who love this method with their Ninja blender – they can churn out butter in 3-4 minutes or less. We just have a standard blender at this time and I feel like it whips the butter too much with the high speed. I suggest you give it a try and see what works best for you.
Instructions:
- Pour the fresh raw cream into a blender.
- Blend on medium to high speed until you notice the separation of butter and buttermilk.
- Strain the buttermilk and save it for other recipes.
- Rinse the butter under cold water to remove any remaining buttermilk.
- Shape the butter into a block or roll, and your homemade butter is ready!
Option 4: Electric Butter Churn Method
This is my favorite method. I have an old electric butcher churn (it is probably from the 1950s) that fits on a one gallon jar. I can pour in the cream, start the churn and let it go to work on my counter.
Instructions:
- Pour the fresh raw cream into the butter churn.
- Fill your churn jar half full with cream, depending on the size of the churn. Mine is a gallon churn that does a half gallon at a time. Someday I wouldl ike to upgrade to a 3 gallon churn 🙂
- As you churn, the cream will transform into butter, and buttermilk will separate.
- Drain the buttermilk and save it for other recipes.
- Rinse the butter under cold water to remove any remaining buttermilk.
- Shape the butter into a block or roll, and your homemade butter is ready!

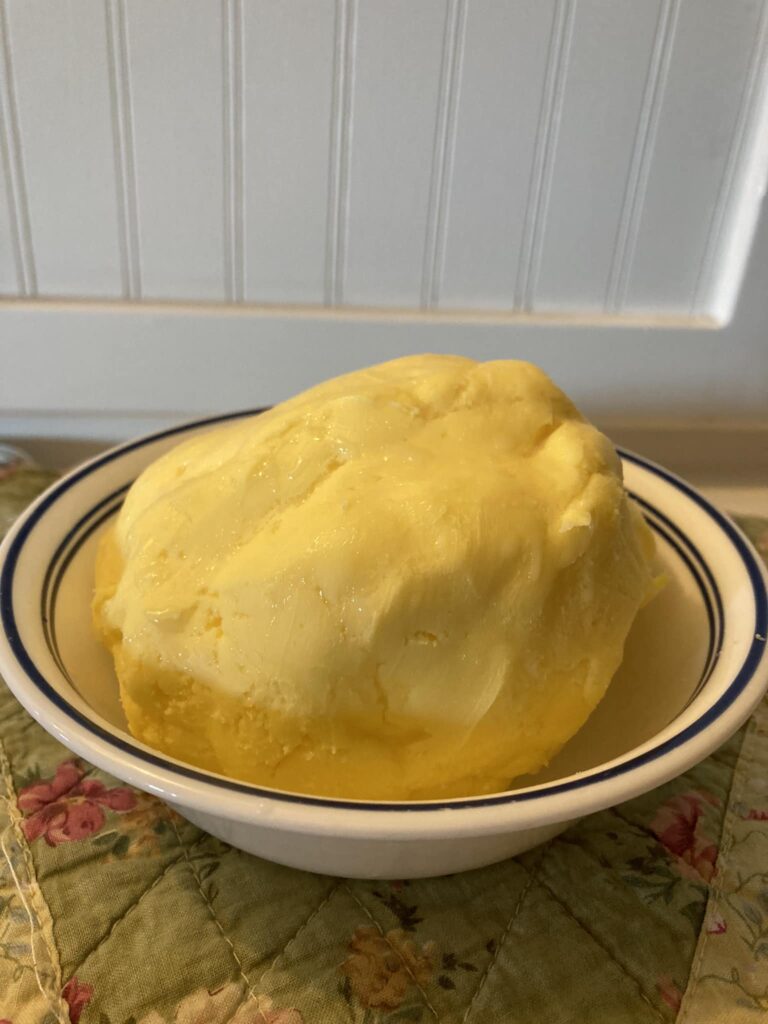
Ever wondered why some butter has that beautiful golden hue? ![]() It’s all about what the cows munch on!
It’s all about what the cows munch on! ![]()
![]()
Grass-fed butter gets its sunny color from the natural pigments found in fresh, green grass, which we have been able to keep the cows on with the warm fall weather. When cows graze on nutrient-rich pasture, they absorb compounds like beta-carotene, a pigment that also gives carrots their vibrant color.
As these wholesome compounds make their way into the cow’s milk, they turn the butter a rich, golden yellow. Not only does this add a delightful burst of color to your morning toast, but it also means your indulging in a butter crafted from pasture.
Need Good Milk for your Home Creamery Projects?
Reach out to Leah at 507-232-9902 or email [email protected] to check current raw milk availability.

